Sunday, October 23, 2011

Vogue 1135 Chado Ralph Rucci dress

 A beautiful dress designed by Ralph Rucci. Intriguing shaped tucks circle around the bodice, skirt and sleeves. Vogue calls this a "lined, A-line dress, fitted at bust, with all over shaped tucks, below elbow length kimono sleeves, gussets, side front slit and back zipper. Braided, self-fabric belt is attached along seam. Asymmetrical hand rolled hems". I see that it is now OOP after only 2 years. Too bad.


This comes in size AAX (4-10) and DD (12-18). I usually cut size 8 or 10 at the neckline, shoulders and sleeves, do a FBA and add extra for waist and hips. My measurements put me between 16 and 18 but I know that is way too big for me above the bust. This time, though, it looked tricky to do the usual FBA and even to add at the side seams because of the tucks, side panel and gussets. Just way too much fuss. The pattern front gives the actual garment measurements at the bust, waist and hips. I saw that the 16 would be a little bit bigger than I am so I cut that planning to do necessary shoulder alterations at the overarm seam. The necklines hardly varied from size to size so I didn't worry about that.

The instructions are very complete except for assumptions that a skilled sewer should be aware of, like trimming seams. Lots of couture techniques such as fusing interfacing over all seams, hand rolled hems, and lining. The side panel and gusset are the only really advanced parts and the instructions are very complete for that part of construction. I guess getting the tucks lined up across the seams and zipper is also a bit tricky. I found one small mistake at step 34 where they forget to mention stitching the facings after instructing you to pin them. They do show the seams stitched in the drawing so that is a no brainer.

I used a poly/rayon/lycra Ponte with a miniscule stripe from Joann's. The pattern calls for moderate stretch knits only such as wool jersey and matte jersey. I read that the original designer dress was made of interlock or double knit. I think that is a better choice than jersey because of all the seams. The stability of double knit made this a lot easier to get all those seams and tucks to be smooth.

I didn't want to use wool, although that would be beautiful, but I knew it would irritate my skin with such a high neckline. The pattern calls for lining (with stretch charmeuse or stretch Crepe de Chine) which would help with the skin sensitivity issue. However the neckline facing uses the fashion fabric. The lining is entirely optional as it is there only to hide all the interior construction. I left it off as I am very concerned about being too warm in this style.

I recurved the outer sleeve seam to make the shoulders narrower and I tapered the back zipper seam in an extra inch starting just below the neck down to below the waist. I shortened the dress 5 inches. Design changes: I left off the braided belt as I want to wear necklaces with this and felt it would be too busy with the belt. The seam under the belt was not sewn into a tuck so I went back and added that to the seam at the end when I decided not to use the belt. This necessitated undoing about 6 inches of the zipper application in the back so it would be better to decide to do this earlier in the game.

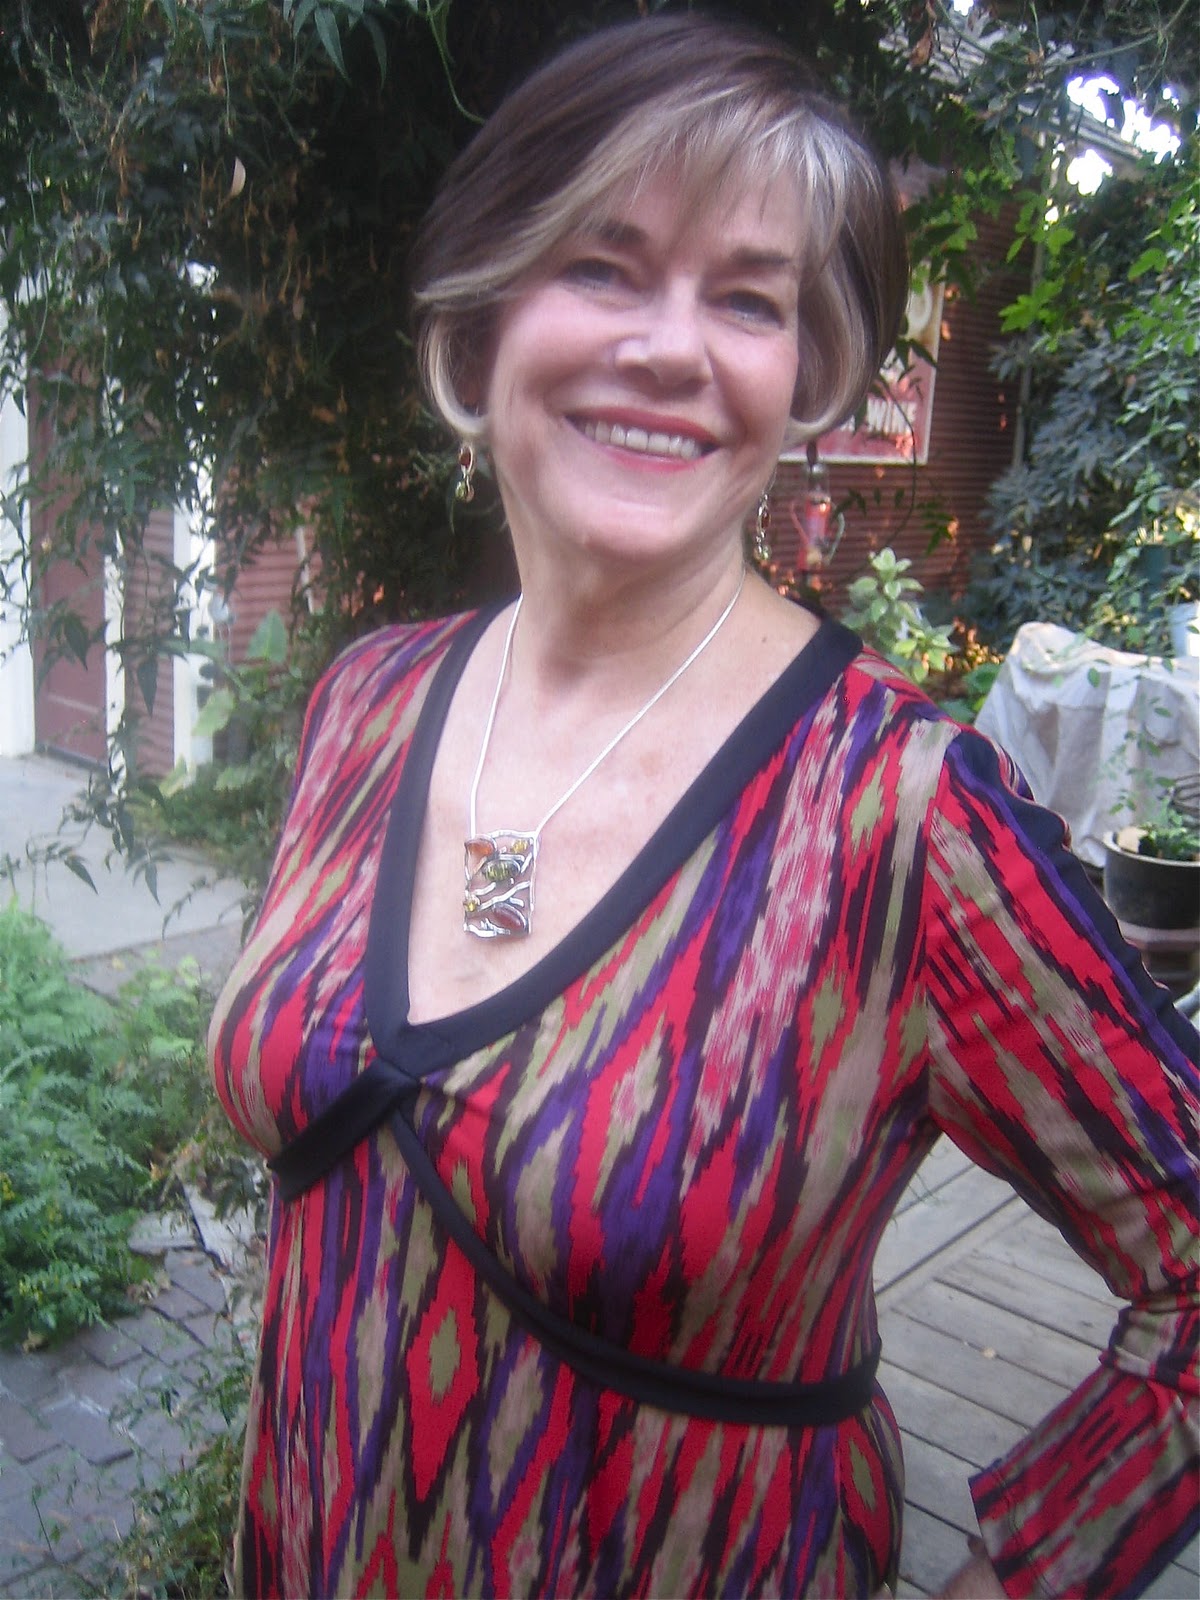
I notice in the photos that some of the pieces look darker in color as though I used the opposite side of the fabric or cut them facing a different direction. It puzzled me when I saw the photos. It is caused by the varied grain directions which reflect the light differently. I followed the grain lines carefully so that is just what happens. It isn't that noticeable in normal light.

The slit looks alarmingly high on the model in the photo on the pattern envelope. I stitched mine as indicated and you can see that, on a person of normal height, the slit is not that high on the thigh. My DH's initial reaction was that it looked to be a nun's gown. When he said that I decided to keep the slit.

As I didn't add the lining nor do the hand rolled hems nor make the braided belt this didn't take much longer than many dresses. Of course mine isn't quite couture but it is fine enough for me. Now to have some cool enough weather to wear it!

Sunday, October 16, 2011

Vogue 1210 Sandra Betzina dress


Not crazy about wearing it this way
Catching up with some garments I made in the past few months. This Sandra Betzina dress is super comfy to wear but the weather has been way too hot for sleeves and any fabric with lycra in it. Maybe in the next few weeks I can start to wear it. Easy and quick to sew. I should make it again.

Thursday, September 29, 2011

Travel wardrobe


I'm back from a great trip to Ukraine and Russia. The Russia part involved Moscow and St. Petersburg linked by cruising along waterways between the two cities. This involves the Volga River, many canals, and the two biggest lakes in Europe. How does this relate to sewing you may ask? I sewed most of my wardrobe, some specifically for this trip, and some already on hand. I was going to sew more including this top, which was under the needle of my machine on the eve of our departure, when I suddenly had to rush my DH to the emergency room. Such drama! He had fallen on our sidewalk (replacing a sprinkler at 8 pm the night before a trip without being packed.... dumb idea) and gashed the back of his head. 6 staples and we were home after 5 hours at 1:30 am. We kept telling the personal at the ER that we had to catch a plane in the morning so hurry up. Well, we didn't really say that. So that top did not get to go on the trip! (side bar: the doctor gave me a tool for removing the staples in 8 or 9 days in case we couldn't get to a doctor or clinic. Are you kidding me? I couldn't see going to a doctor in Moscow but on the other hand, me removing staples stuck in my husband's head? Fortunately, I found a nurse among our fellow travelers who was happy to help out. Trauma averted).

The basis for my wardrobe was this green ponte jacket for which I used Sewing Workshop's Onde Jacket. I wanted a longer jacket to cover my longer tops and one with handy pockets. It also needed to be loose enough to go over two or three layers and work under my Babette rain jacket. The Onde worked perfectly. With it I wore black ponte Marcy pants and skirt from Vogue 8697, purple ponte Marcy pants Vogue 8712, the purple ponte vest I made recently, a new Butterick 5679 top in a chartreuse animal print, Vogue 8582 Marcy top with high neck and long sleeves of black ribbed knit.


There were other things too but those were what I wore the most. Because it was chilly and damp I often layered a top, a thin black sweater wrapped across my front, the Onde jacket and my raincoat. A few times I even threw a black fleece shawl over that. Hard to imagine all those layers now that I am back home where it is still 90+ degrees.

Saturday, September 3, 2011

Sierra's new doll, dress, and bloomers


I seemed to have dropped out of blogging, haven't I? But I have been sewing. Lots of things. After I return from yet another trip, leaving tomorrow for 3 weeks, I will try to catch up. But in the meantime here is the latest. My DGD needed a soft doll so one was found at Joann's for a mere $4.99. The doll has lovely red hair and shoes and socks but no clothing. Also Sierra needed new bloomers. So I made bloomers for her and a matching dress for dolly. No pattern needed for dolly. Just traced around her and made an aline shape with scoop neck big enough to get on and off. I wanted it to be similar to Sierra's recent dress and lined it with the same fabric. Both dresses can be turned inside out and they will match. The dolly's dress has velcro to close at the shoulders as buttons would be too tiny and too hard for a toddler to do. I also made a little sash for dolly with the bow stitched closed and a velcro spot to hold it on her body. Also easier for little hands to manage. Sierra seems very happy with her new dolly and bloomers.

I used McCall's 6370 for the pants. Very simple. However, if you use this pattern, watch out. The order of construction is not what I'm used to and I managed to get almost done before I realized I had sewn the waist elastic to the pants legs which were not sewn together. Dumb. My excuse.... I was in a big hurry. Lots of ripping out, doubling the construction time. So watch out for that.

Also the suggested elastic length for the leg is too small. They suggest the ankle circumference plus 1 inch. I did that and it was way too tight as the pants ride up the leg. I took out that elastic and put in a longer one that added another inch. Also I used a narrower elastic which didn't cinch up as much.

The wall hanging I made for her room has embroidered faces in the center of the pieced flowers. I chose this fabric because it also has flowers with faces. I thought she would enjoy noticing that little detail.

Wednesday, July 6, 2011

Sierra's Dress


Front

Back

Interior lining

With purchased leggings

Sierra with her dress over pj's

Posing

Happy Girl
A delightful dress for a little girl. I bought this pattern at a quilt show so naturally it is designed to make use of fat quarters. Or you can cut it from regular cut yardage if you like as amounts are given for that also. It is fully lined and can even be reversible. The curvy edges of the pieces use coordinating purchased or custom-made bias binding trim. Buttons at the shoulders for an easy fit. A matching doll dress that fits 18 to 20" dolls is included. And leggings. View A has 5 different fabrics and View B has 6. I did View B, just so I could use more fabrics.

Sizes 2 thru 5 are included. I made size 2 for my GD who is a large age 14 months usually wearing 18 month sizing. It is big for her but she will grow!

Very easy instructions. Complete, everything a non-quilter needs to know. The pieces are layered onto an inner backing with the bias trim wrapped over the proper curving side. It is like putting together a simple puzzle. I found this garment a lot of fun to make.

I really enjoyed the construction technique and I loved picking out coordinating fabrics. I used quilting cottons pre-cut into fat quarters from Joann's. Also quilting cotton for the lining and muslin for the inner layer. I preshrunk all the fabric.

This was a fun project. It takes a bit longer than making a similar shaped dress for a toddler but much more fun. I made this at the recent retreat I attended that had many quilters there as well as garment sewers like myself. This little project got lots of compliments. I hope to sew it again. Maybe one in each size as she grows. And if she gets a doll the right size I will make that too.

Tuesday, July 5, 2011

Catching Up

View from the sewing room
More View


The Dragonfly Dress

The Tahoe Top

The table behind me
The Mizono Shirt


Sharon and Dorothy

Wearing the new Marcy Tilton Shirt
I had a fantastic time at the sewing retreat except for the fact that my friend Barbara was unable to attend with me. I really missed her companionship and ready advice when I needed it. We had fun keeping in touch while I was there by using my iPhone to take photos of each project and sending it to her immediately via email. That way she could comment and feel part of it too.


I was very, very focused and sewed many things. We can come to the sewing room anytime and many are there well before breakfast. Not me as I stay sewing until mid-night. Even so I am not the last one there at night. There are always the same 4 or 5 of us holding down the fort late at night. No one stays longer than Lyla Messinger who seems to have endless energy. She would be there until 3 am. Of course we never saw her at breakfast.


All meals are included at this retreat spot so I would sew, eat a meal, sew, eat another meal, sew, eat a third meal, sew and finally sleep. I figure I had 14 hours of sewing a day for 4 days and about 5 hours on the first evening. Crazy. Sore shoulders. 15 projects done! Some people are more relaxed and chat a lot. I enjoyed listening to all the chit chat around me and stopped to answer questions or show my things to anyone who came my way. But mostly I just sewed.


So I have a lot of garments to photograph and review. 1 toddler dress, 1 rain coat, 1 hooded jacket, 5 dresses, 1 pant, 2 shirts, 2 knit tops, 1 bizarre gown, 1 hospice hospital gown. The hospice gown is for a charity project the sewing group does every year. I won't review the Hospice gown, or several items I've reviewed before. But as you can see I have a lot to do.


One shirt I made is the Marcy Tilton Vogue 8709. I wore it the other day to meet SFShaza at my friend Dorothy's house. She wrote about the meet up on her blog http://communingwithfabric.blogspot.com/2011/07/blogger-meetup-meeting-ann-smith.html. So much fun.

Saturday, June 18, 2011

Behind

You can see from the side bar with my pattern reviews that I'm way behind in writing about my projects. I haven't blogged about the last 7 garments that I have reviewed. Instead of writing about them here I think you can just click on the links to check them out. Meanwhile I have been a woman possessed with the sewing mojo preparing for my sewing retreat at Lake Tahoe which starts tomorrow! Yeah!! I have cut out 15 projects in hopeful anticipation that I will do them all. That probably won't happen as there are only 4 full days and one evening to sew. But I will try. I hope that the masseuse comes around like she did last time because after a few days my shoulders are in desperate need.

The photos show my set up the last time I went two years ago. Very excited to be going again.

Wednesday, May 11, 2011

Vogue 1238 Miyake dress

I have made many Miyake patterns through the years. Some have been favorites (1476 coat I am still wearing after 25 years) and some have been worn once or never. I always love sewing these patterns as they are unique and often counterintuitive. Fun puzzles and I do love a puzzle. This dress has that Miyake quality although it is quite easy to construct. Nothing that puzzling. However, although it was fun to make, it may only be worn around the house in the hot days coming up. That is because it seems like a muumuu on me. Really full through the bust (no need for a FBA here) and of course wide at the sides. The wide sides don't bother me (see Vogue 1234 review) but the overall fullness through the bust does.

Have you noticed that Vogue's description have become minimalistic to the extreme? This one says "Pullover dress is very loose-fitting at the bust. No provision made for above waistline adjustment". No mention of color blocking, curved seams, bound edges. I used a Medium although my measurements are in the Large range. Obviously I could have cut the Small. Or maybe XS.


The envelope photo shows the shoulder pieces front and back cut out of the main fabric. The cutting layout also shows it this way. However the line drawing shows the shoulder pieces cut from the contrast. I did it with the contrast. Of course on the envelope photo you can barely see the difference between the fabrics anyway. I also turned the armhole binding toward the outside to have the contrast there also.

This is one of the easiest Miyake's I have sewn. I did not do the stay stitching called for in the instructions. I have found that often stay-stitching knits causing more stretching. Also I put it together on my serger which helped prevent the seams from stretching. It takes quite a while to sew all those long curves so eliminating the stay stitching (and second row of stitches inside) saved lots of time.

I love the curved, bound neckline. And I love the curved color blocking. Love the floaty coolness for hot weather. Dislike the excessive fullness. The back is pretty cute.

The black is rayon/lycra jersey with stretch in both directions. The black/white dots fabric is rayon/poly blend with no lengthwise stretch. I was concerned that the two different fabrics wouldn't work together but they did. In fact the contrast with less stretch helped keep the very stretchy black in check.

I shortened a few inches at the bottom. I would have like to shorten it further but then you loose the black at the bottom. To shorten further you could take deep seams on all the curved pieces. 

 I intended this as an experiment using remnants. It feels like a nightgown to me but perhaps that stems from my fabric choices.  I don't think I will make this again but it was a fun project.

Tuesday, May 3, 2011

BurdaStyle Twister Dress


Are you looking for an edgy dress that is almost instantaneous to make and has a FREE pattern? Here it is, a downloadable pattern from BurdaStyle. This dress takes longer to download and tape together than it does to cut out and sew up. That is because there is only one pattern piece, placed on the fold with two shoulder seams and one long underarm/side seam. If you leave the edges raw as I did that is all you do. You could choose to finish the edges which would add another half hour to the 15 minutes you spent so far!

You need a knit that stretches both ways for this dress. My first try was using a fabric I no longer liked that was stored in the garage. That was the most time consuming part of the project, finding that fabric. Really, once I found the fabric, I cut out the dress, sewed it up, tried it on, decided it was too tight in the hips, fiddled with it, picked out jewelry, took it off, got redressed and only 30 minutes had gone by.

As I found the first attempt to be a wee bit overly snug through the hips I have decided to wear it as a long top, ruched up over my torso. I didn't even trim off the extra length.

For my second effort I added about 2 inches at the hips and cut it from black rayon jersey/lycra. Much better look, both in the fit and in the dark, solid color. I made one for my DIL as well. Why not? It only takes a few minutes. I offered to make one for my other DIL but she declined. It isn't for everybody after all.

If you are interested in trying this, I cut the larger of the two sizes. My hips are @39". You take it from there. Plenty of room for a full bust. No need to alter there. Go to http://www.burdastyle.com/projects/my-neon-twister-dress to download the pattern.